
Zapier (BETA)
WPComplete 2.9+ integrates with Zapier’s “Webhooks by Zapier”.
What is Zapier?
Zapier is the glue that connects thousands of web apps. Zaps are workflows that connect your apps, so they can work together. Zaps start with a trigger—an event in one of your apps that kicks off your workflow. Zaps automate tasks in the background, so you can focus on more important work. Learn more.
Note that Webhooks by Zapier are a paid feature of Zapier (they do have a 14 day free trial too).
How can you utilize Zapier?
Have you ever wanted to be alerted when a student completes a course? Or segment your email marketing users based on who has finished certain lessons?
Being that WPComplete doesn’t itself integrate directly with Mailchimp, Drip, ConvertKit or any other service. Hooking up WPComplete to Zapier allows you to create complex integrations that you wouldn’t be able to do all on your own. Get a ping in Slack as user’s complete lessons. Or tweet out whenever a student completes your course. Your imagination is the limit.
Here’s the step by step:
Creating Your Zapier Account
If you don’t already have one, the first thing you need to do, is head over to Zapier.com and create an account:
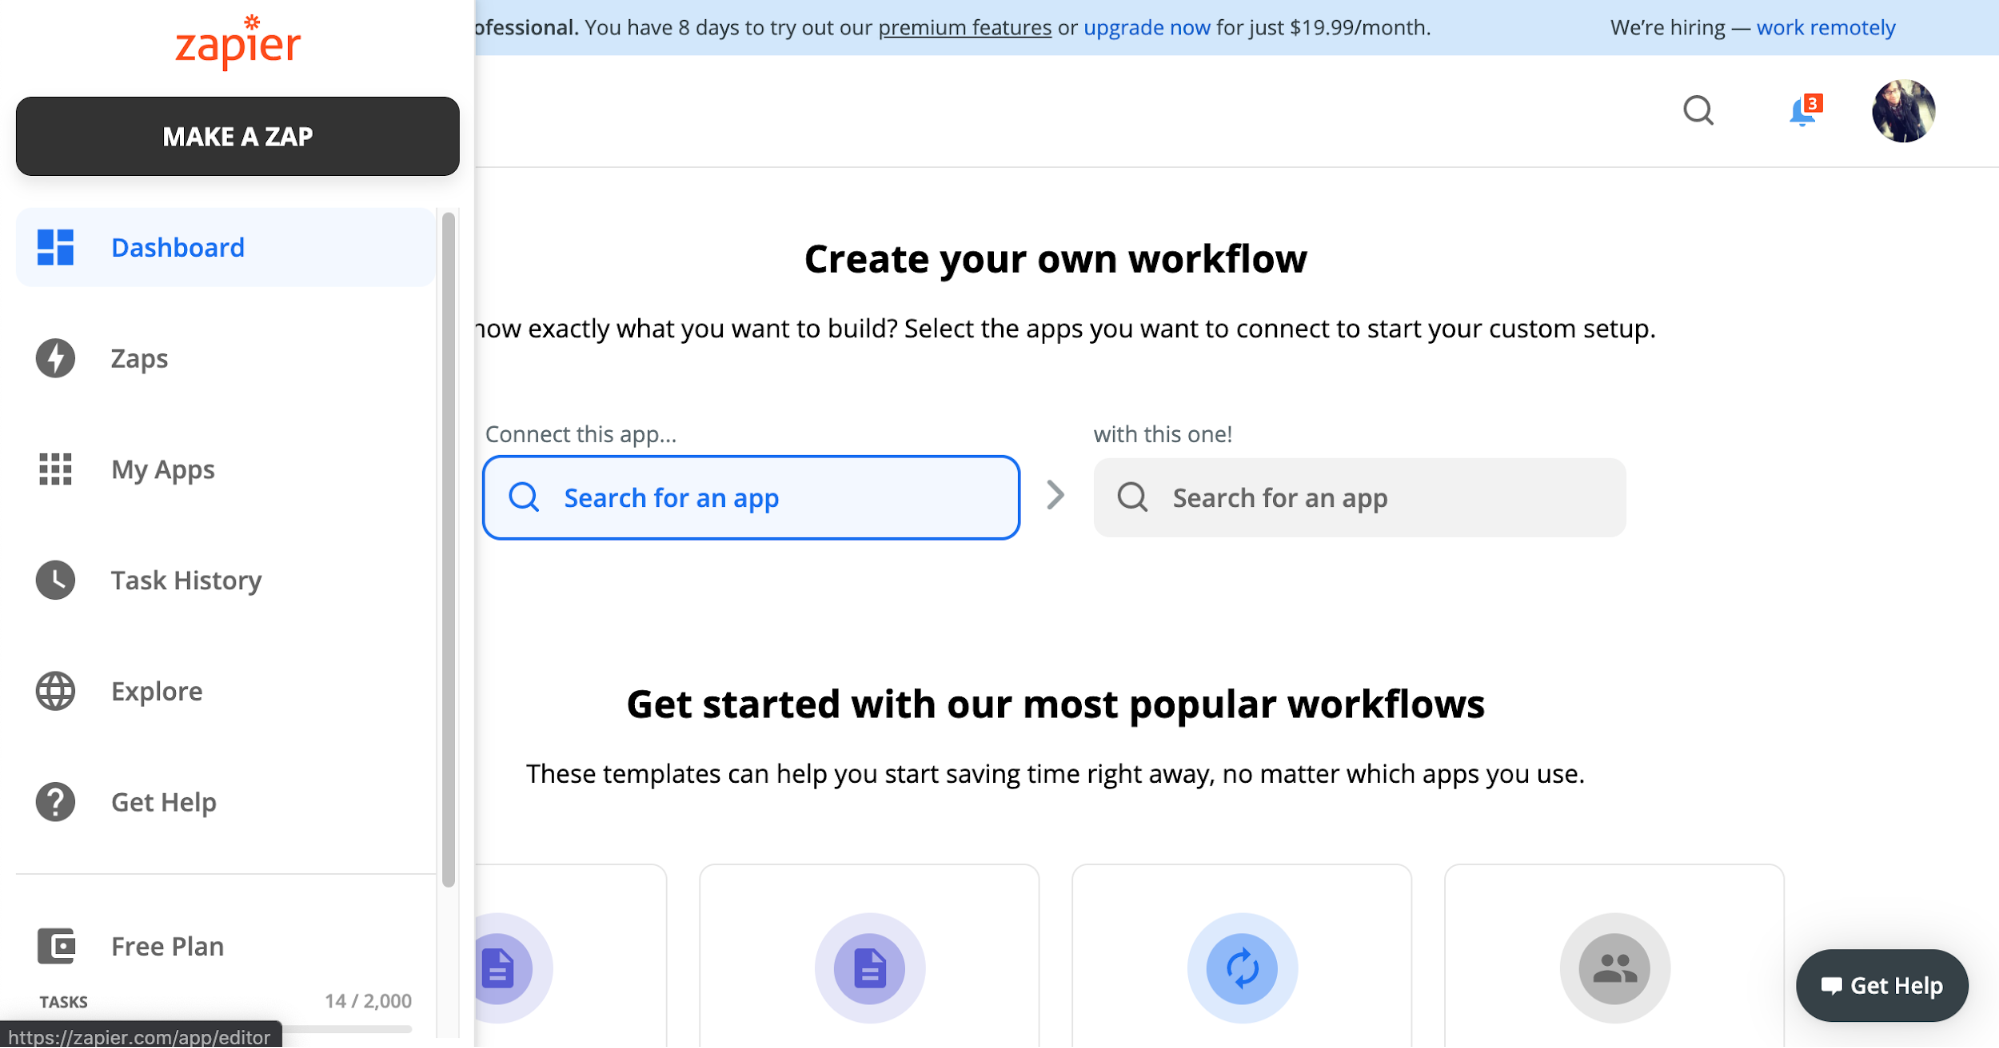
Once logged in, from your Dashboard, you’ll want to make a new “Zap”:
At step 1. When this happens …, search for and select the “Webhooks by Zapier”:
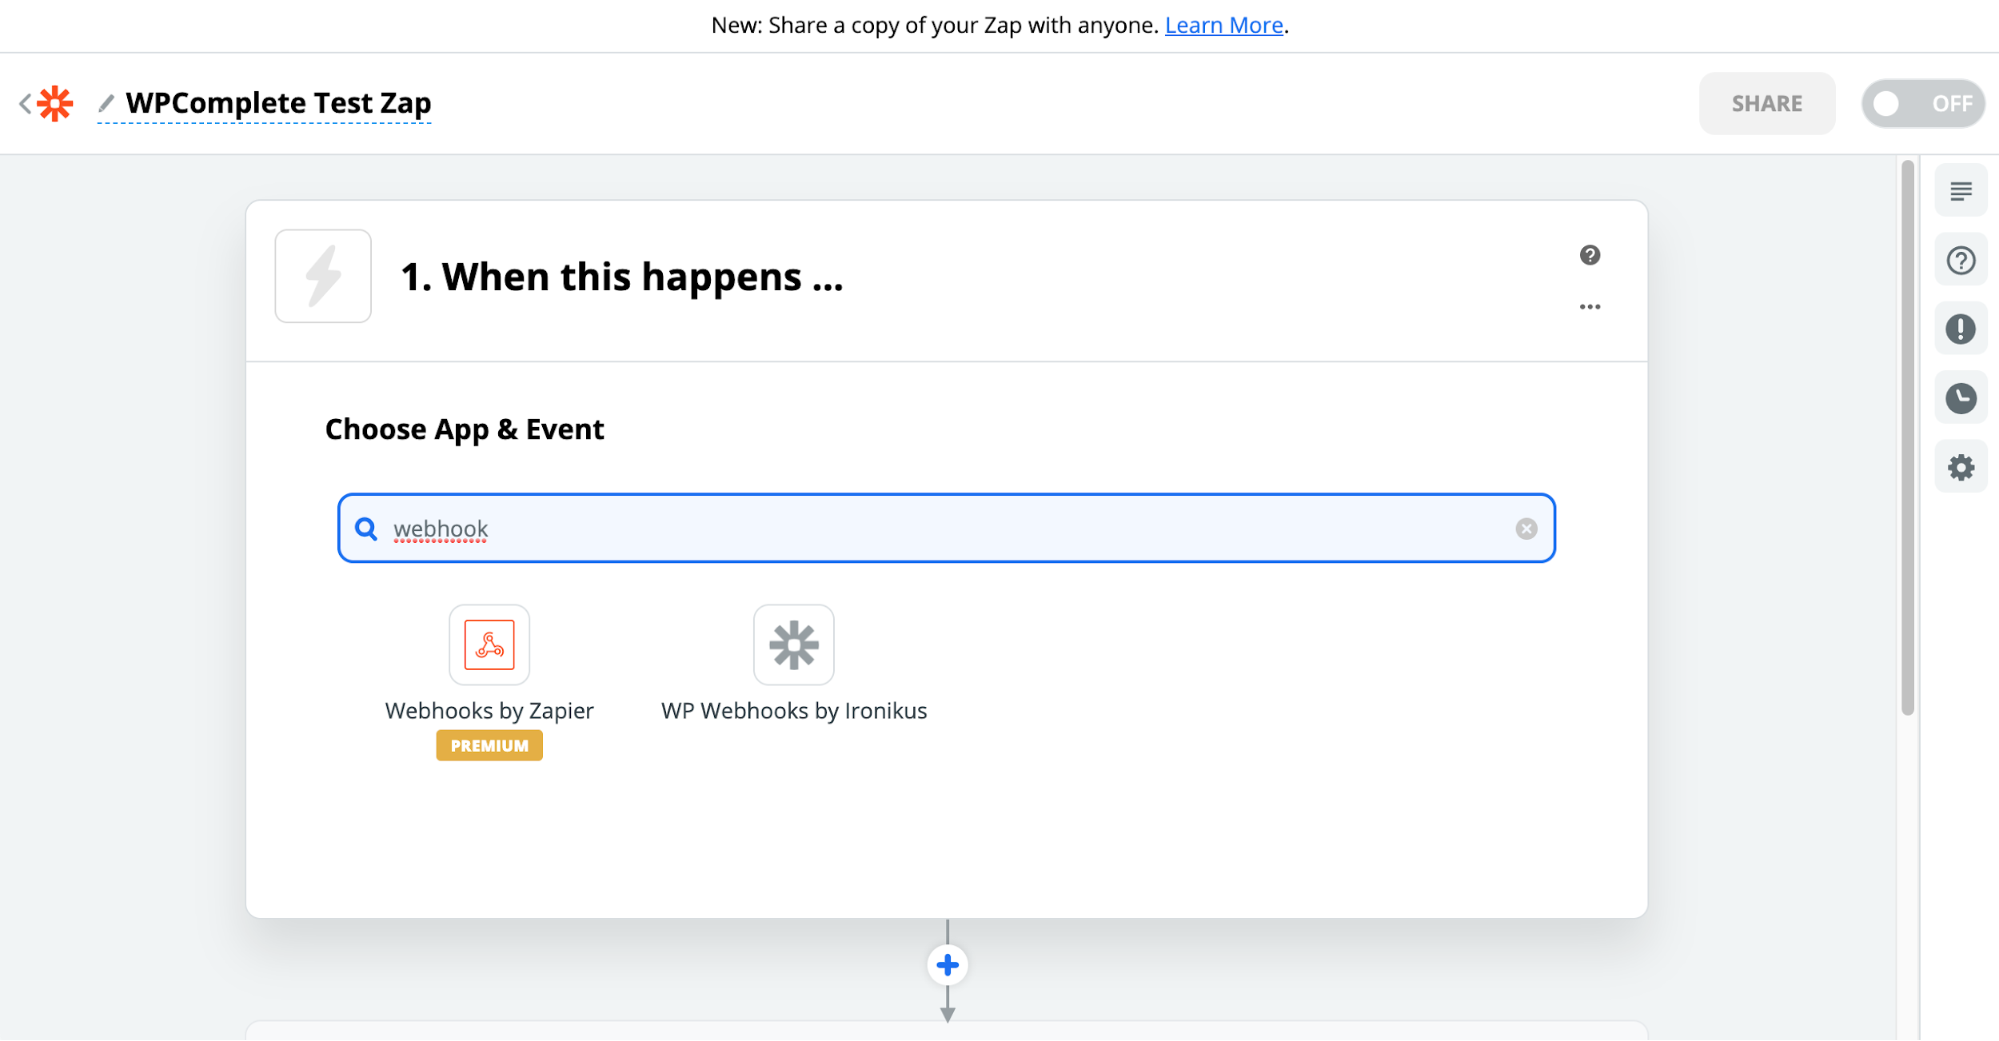
Once selected, choose “Catch Hook” for the “Choose Trigger Event”:

After clicking continue, you’ll be given a “Custom Webhook URL” like: https://hooks.zapier.com/hooks/catch/XXXXXXXX/xxxxxxxx/
Save this URL. This is what you’ll paste into your WPComplete Settings. But first, click Continue again to take you to a screen to test your trigger:

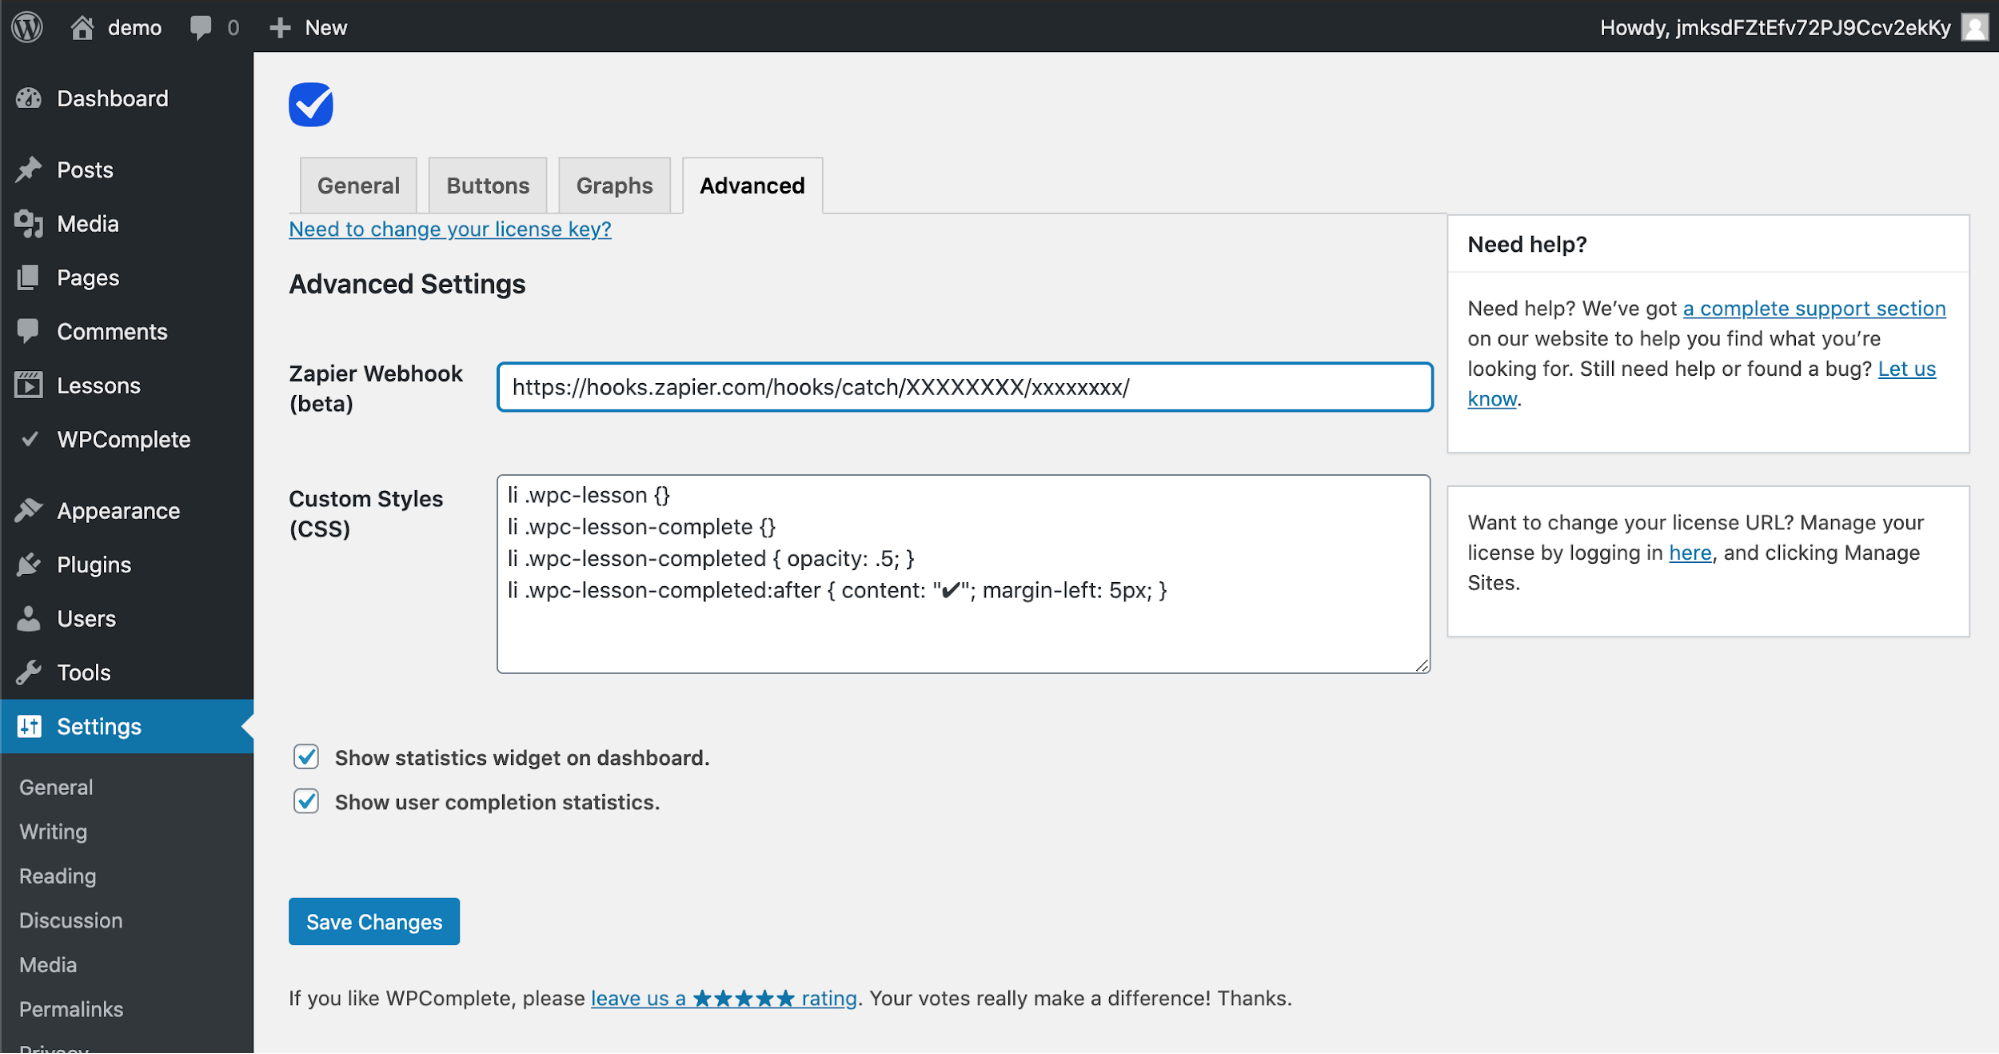
Now you’re ready to paste your Custom Webhook URL into your Zapier Webhook field on the Advanced tab of your WPComplete Settings:
Once saved, your connection to Zapier is now established. Now, anytime a button, post or course is completed, it’ll send a payload to Zapier. Example of the payload we send into Zapier:
{
'wpcomplete': {
'user_id' => ‘123’,
'user_email' => ‘user@example.com’,
'user_name' => ‘John Smith’,
'user_id': '123',
'type': 'button', # or ‘post’, ‘course’
'action': 'completed',
'button': '123-button-name', # only when type = ‘button’
'post_id': '123', # not included when type = ‘course’
'course': 'Proper Course Name',
'course_slug': 'proper-course-name',
'completed_at': 'YYYY-MM-DD HH:MM:SS',
'site_url': ‘http://localhost/’, # the url of the site -- uses get_site_url()
'version': ‘2.9.0’, # the version number of WPComplete
'referral': ‘http://localhost/2019/05/09/test-page/’, # the referring page that the completion happened on -- uses wp_get_referer()
}
}
Now that your WPComplete connection to Zapier is set up, you can finish creating your Zap in Zapier and connect to additional services.
At the moment, these are the available ways WPComplete can trigger a Zap:
- If a button is completed
- If a post/page is completed (all buttons on it)
- If a course is completed
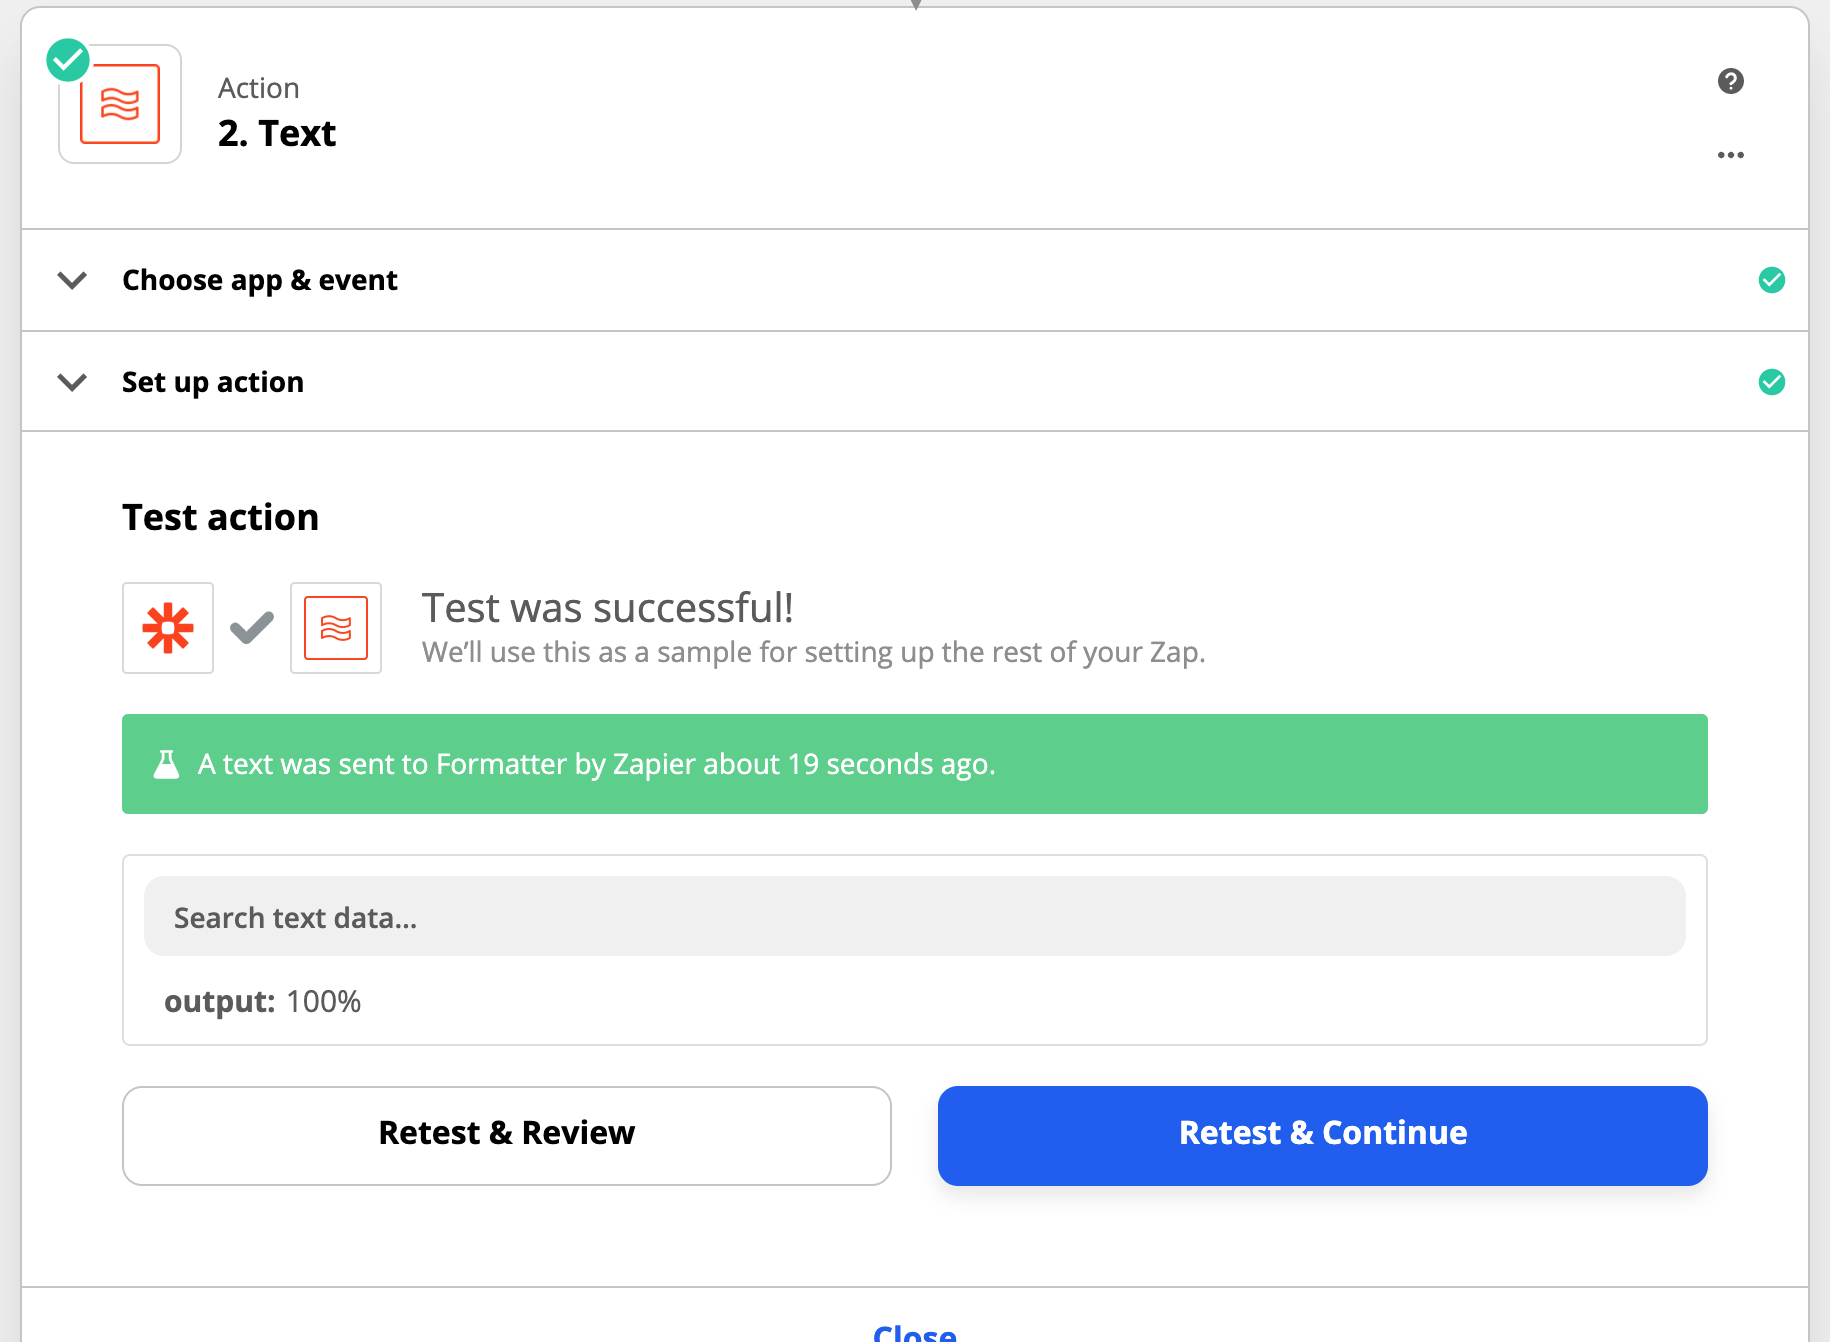
Removing HTML Tags to the Google Sheet Data
To remove the HTML tags within Zapier, under the Text option, click the plus + icon and search “Remove HTML tags”.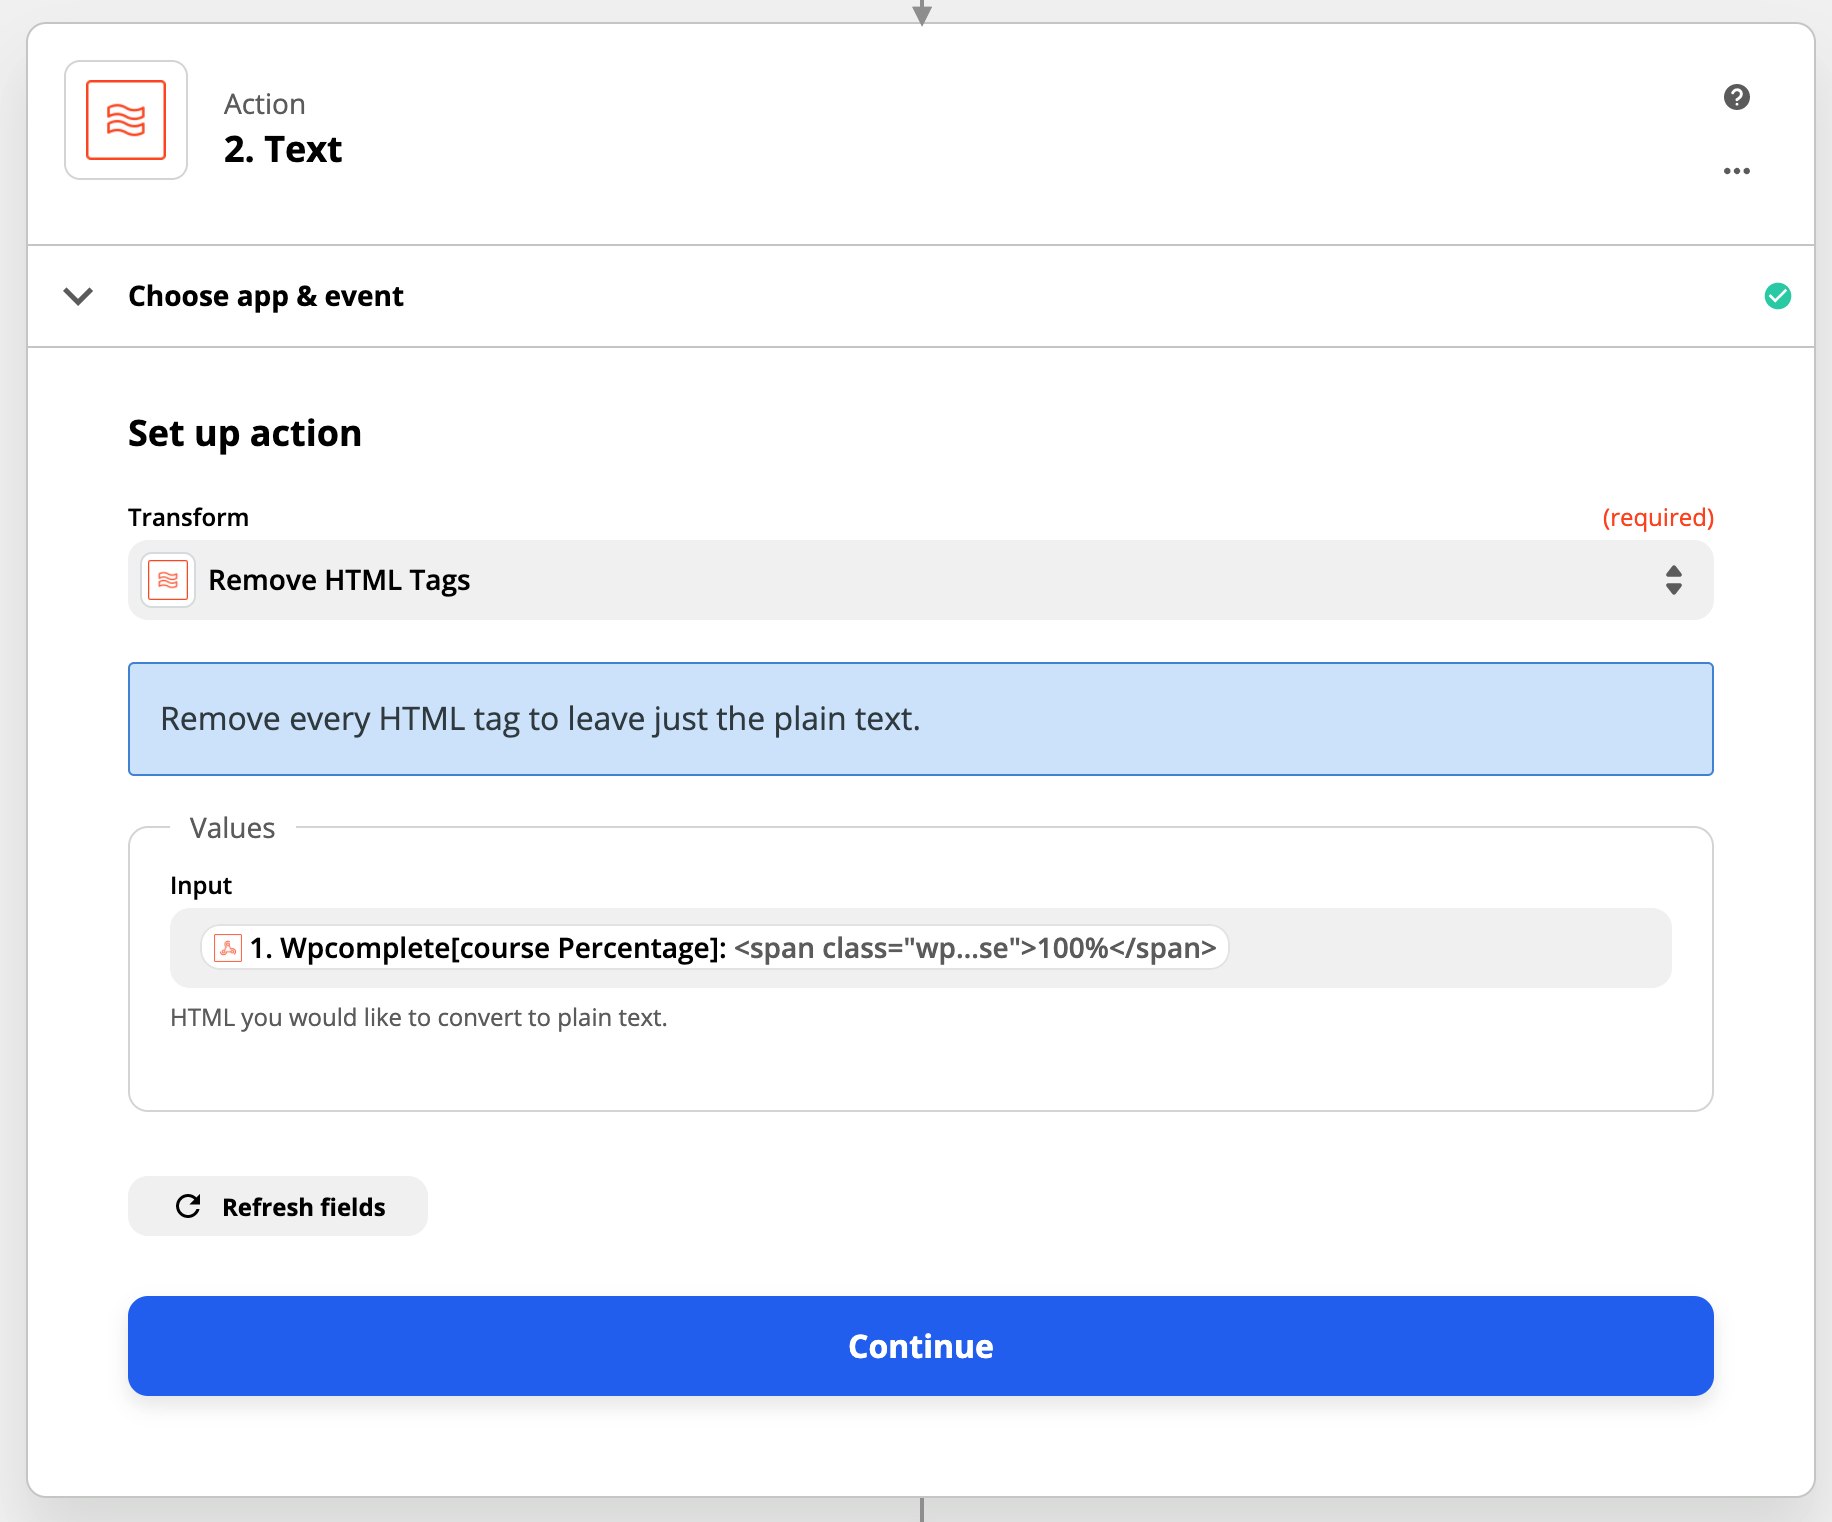
Note: We currently present Zapier as-is, meaning we cannot support or advise how to use it. That said, if there is a bug or error, then please let us know as it’s a beta feature.
To get started with Zapier, go to: https://zapier.com/ and create a free account.
